Note: Importing your own assets into The Endless Mission is an experimental feature. Bugs might occur, please follow carefully the steps and instructions. If you would like to use the work in progress feature, and encounter an issue or error, or have feedback on how to improve it please report it via email to support@theendlessmission.com.
Using The Endless Mission Exporter[ | ]
One of the more powerful features of The Endless Mission is being able to import your own assets for use in the editor!
So let's talk about how to do that!
This assumes you have some familiarity with the Unity Engine and how to use it/navigate it.
Step 1: Download our Unity Exporter Project[ | ]
Download the Exporter! - Current Version 1.0.2 as of 5/01/2020
| After the download is finished, extract the project to a folder of your choice, you will need to find it again later. |  Use your preferred archiving tool to unpack the zip. |
||
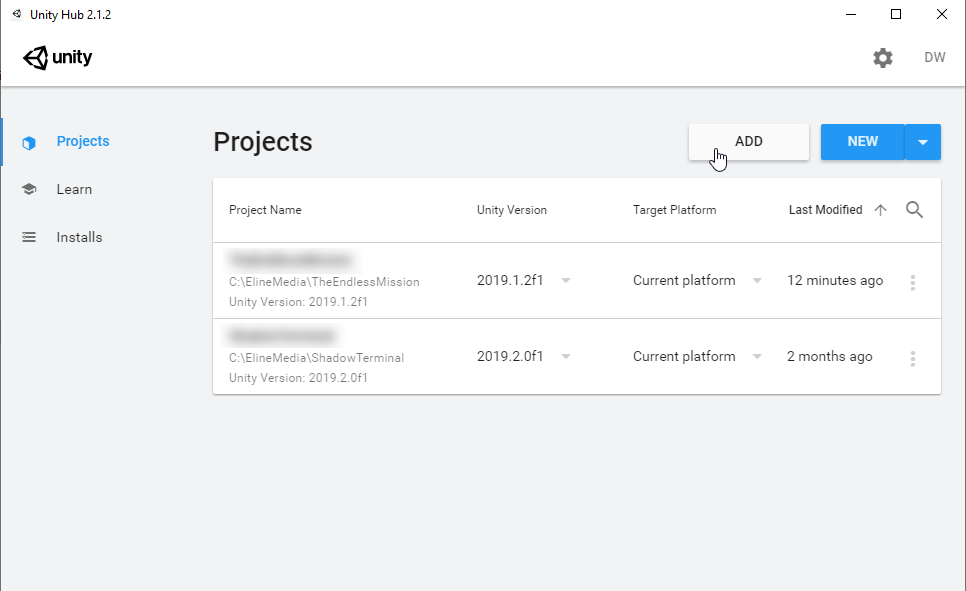
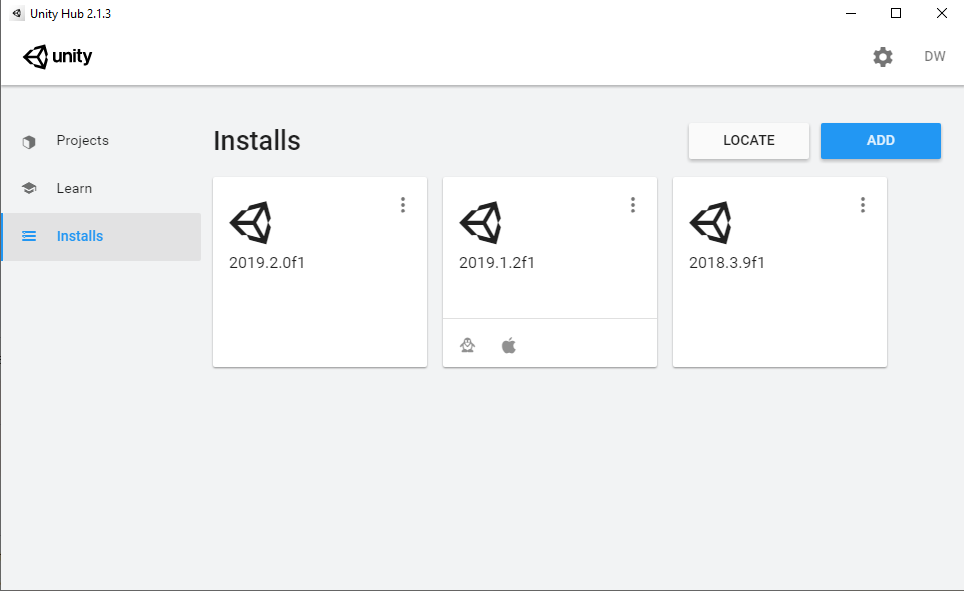
Step 2: Download Unity![ | ]
| The best way to get Unity is to download Unity Hub.
Unity Hub let's you manage your Unity installs. |

|
||


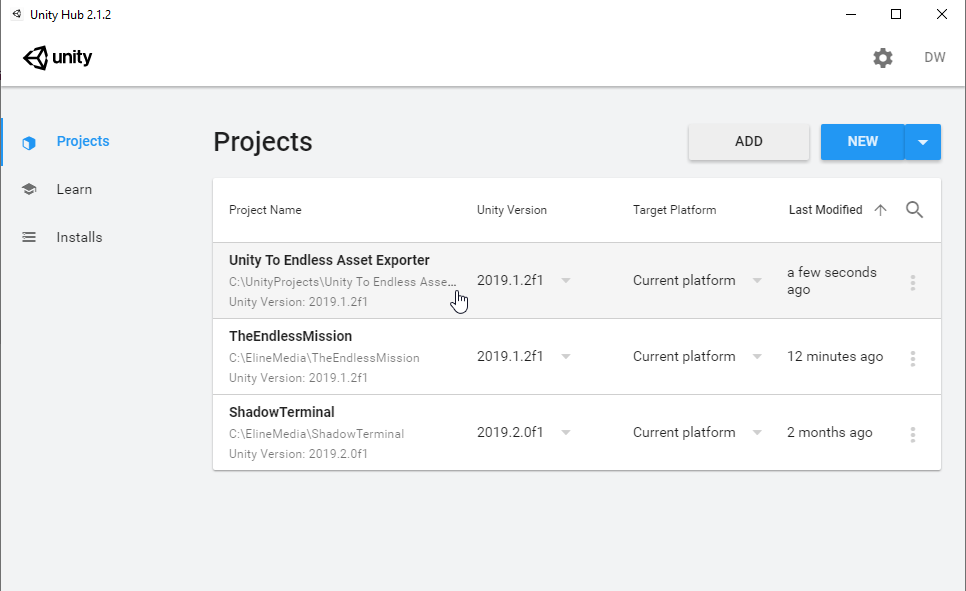
Step 3: Load The Exporter Project[ | ]
| Make sure you are logged into Steam on your account that has The Endless Mission installed before you launch the exporter project.
The exporter runs in it's own isolated project for now. What that means is you can load it up on it's own, bring in the assets you want, and export directly from there.
|

|
|||
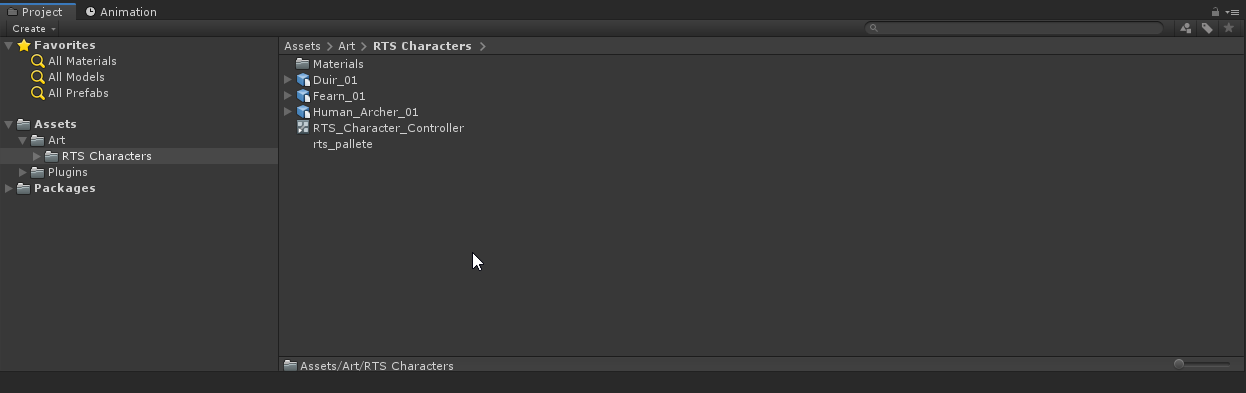
Step 4: Bring in your assets[ | ]
Add Your Files to the Project[ | ] |
||||
| I've decided to add Fearn and Duir from Adventure Mode as optional characters for an RTS spinoff game I'd like to make. So first I bring in all my assets that I need.
This is as simple as dragging in the files I want from a folder on my computer, into the project window. |
|
|||
In this case, I want to bring in my meshes, my animations, and my materials and textures, then I set them all up the way I want.
|

|
|||
Drag Your Files into the Scene[ | ] |
||||
| After they are good to go, drag them from the Project view to the Hierarchy, this adds them to the scene.
Select one of your objects and add an Entity Component to the base object in the scene. This let's your asset communicate with The Endless Mission and be seen by, and used in The Editor!
|

|
|||
Add the Entity Component to your Objects[ | ] |
||||
| Clicking on the object in the hierarchy ensures you have the right object.
Click on the Add component button to see a list of available components. Search for Entity Component, click it to add it to your object. |

|
|||
Make your Objects into Prefabs (Optional/Recommended)[ | ] |
||||
| Once that's done, drag the object back from the hierarchy into the project view to make it a prefab. When it asks what type, click on Original Prefab. | 
|
Step 5: Open the Exporter.[ | ]
| At the top of the window, you'll see a fancy new entry labeled E-Line Media. Click on this to drop it down go to Export Tools, and select Endless Package Browser.
This will bring up a new window that we can use to build our own packages to send to The Endless Mission, and to other users online! |

|
||
|
This is the default Package Browser. Feel free to resize it. |

|
||
Step 6: Make Your Packages[ | ]
Drag your Objects or Prefabs into the Exporter Tool[ | ] |
||||
| To make a package, simply drag the prefab you made earlier into the window while the configure tab is open. | 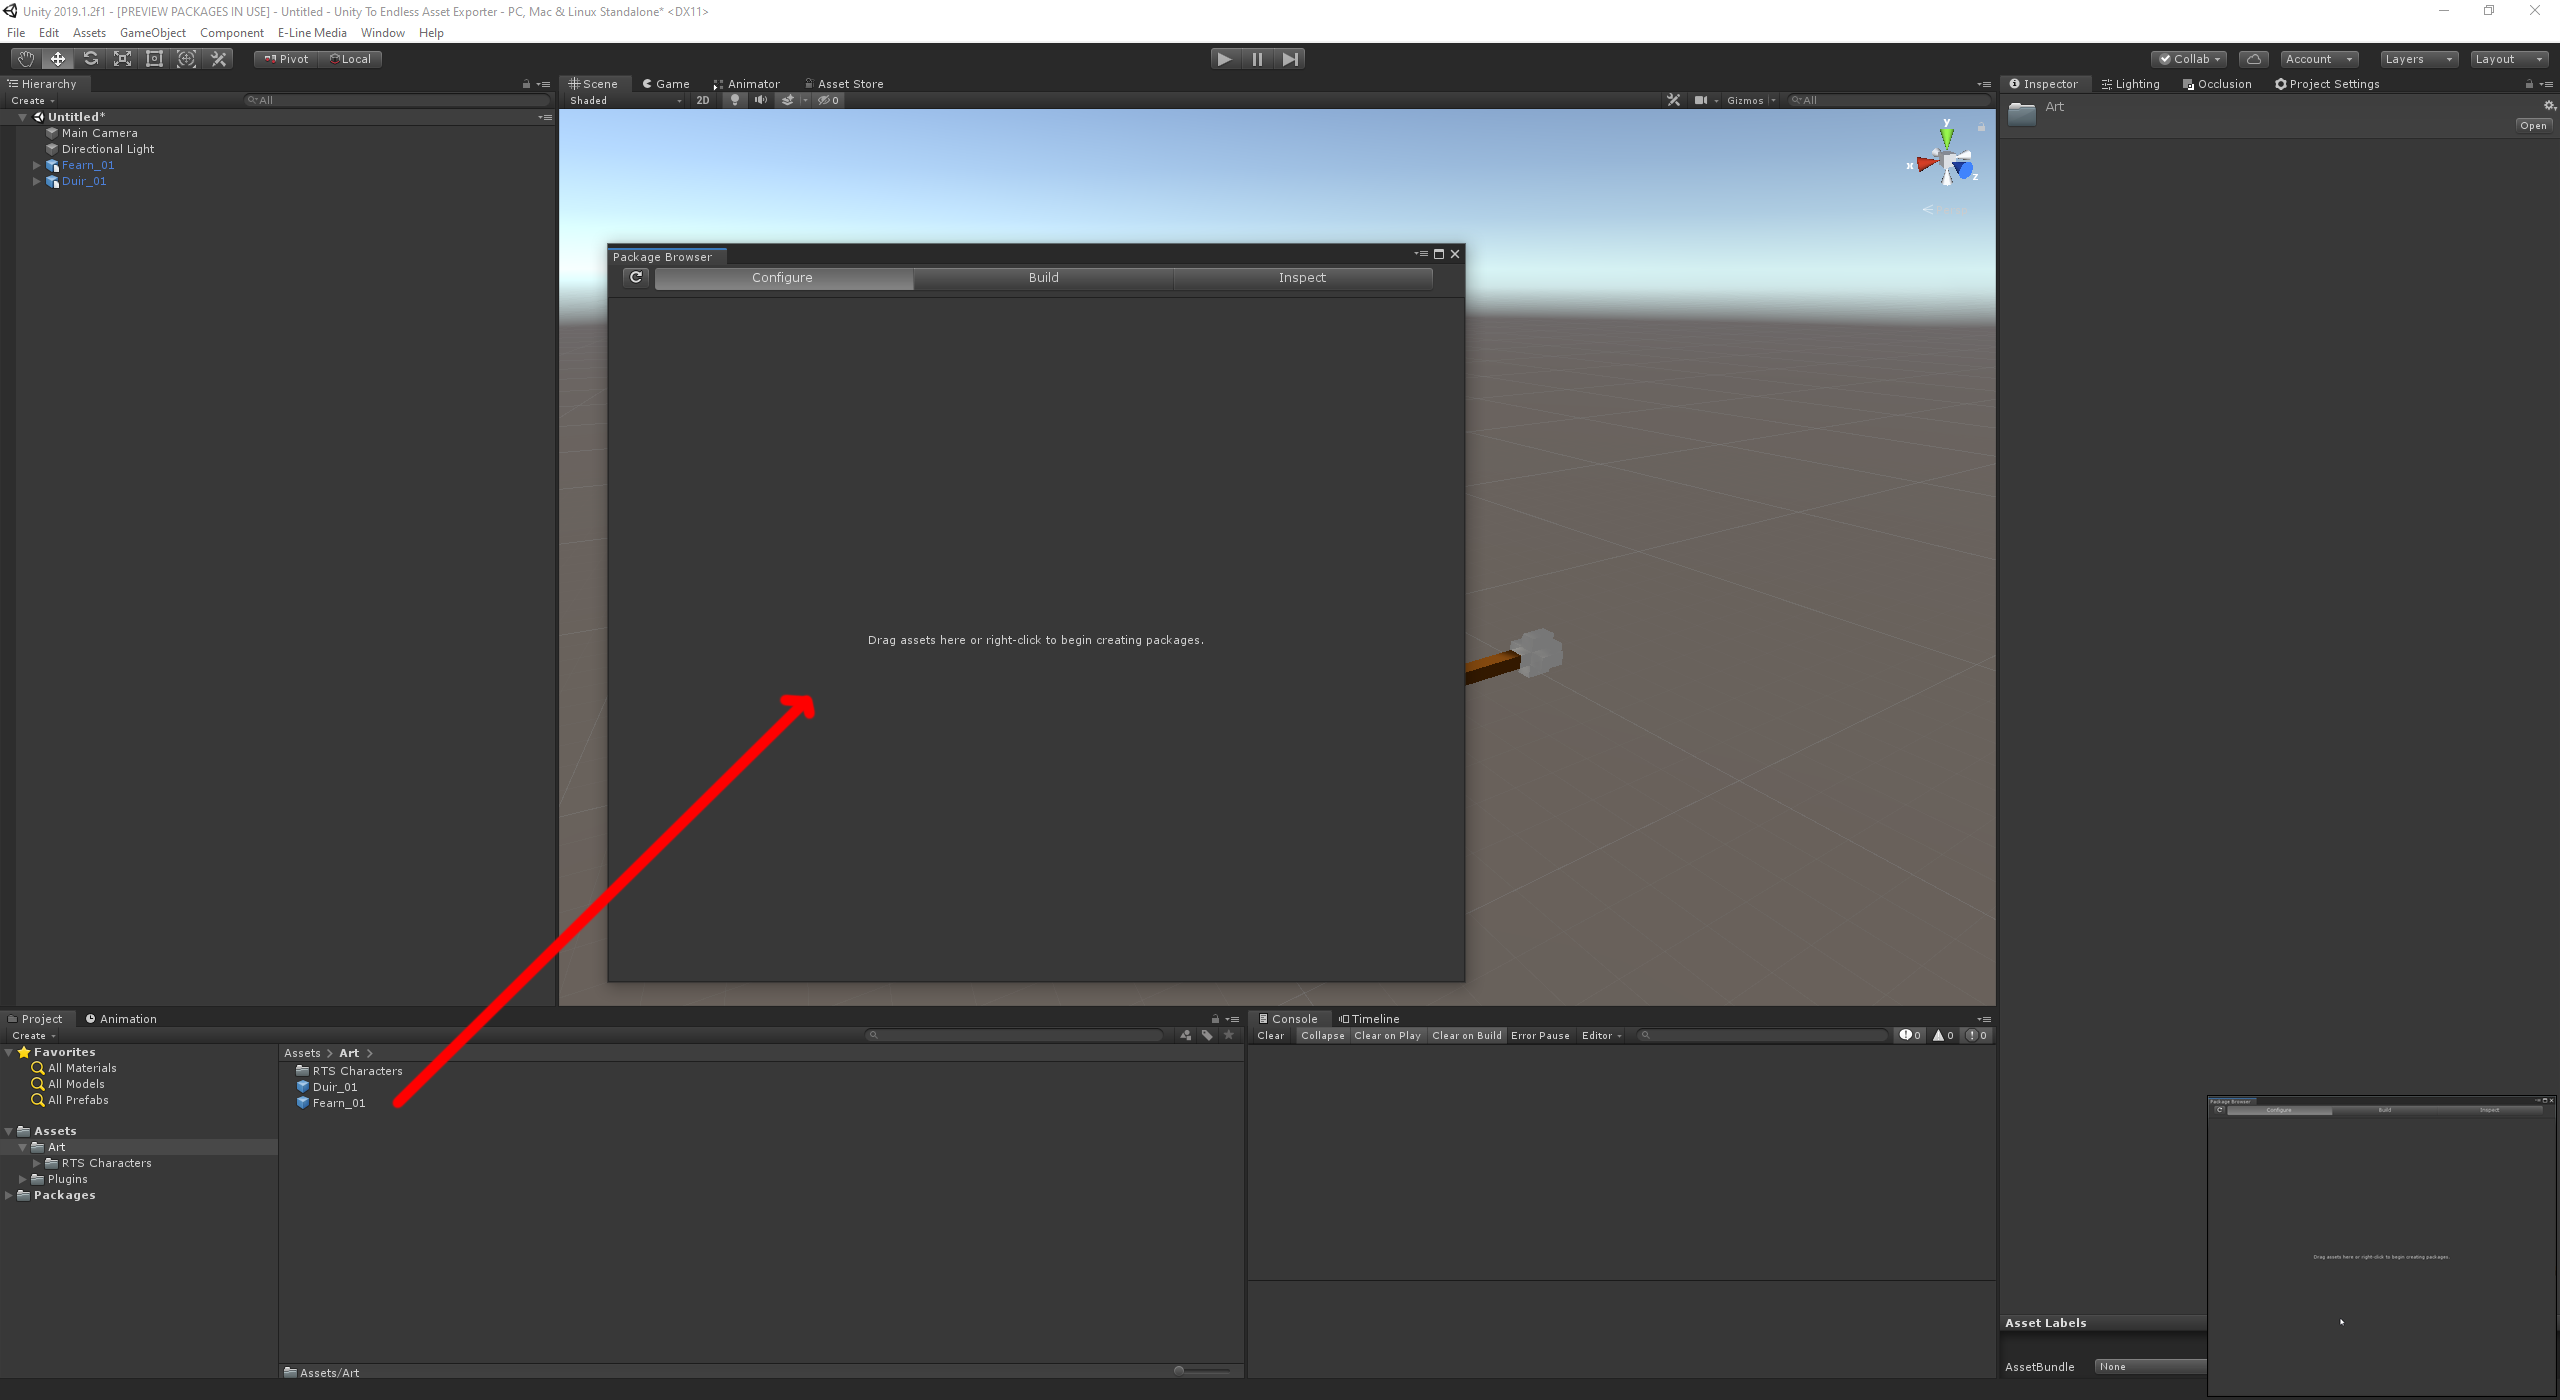
|
|||
Rename and Check Your Package(s)[ | ] |
||||
| From here you can rename packages, explore what each package contains in terms of assets, and even see if your packages are sharing data.
You will get a warning if your packages are both uploading the same assets. However... |

|
|||
Ensure Your Package Contains ALL of the necessary files![ | ] |
||||
|
Make sure all of the assets you need are included. Think of each package as a self contained unit. |
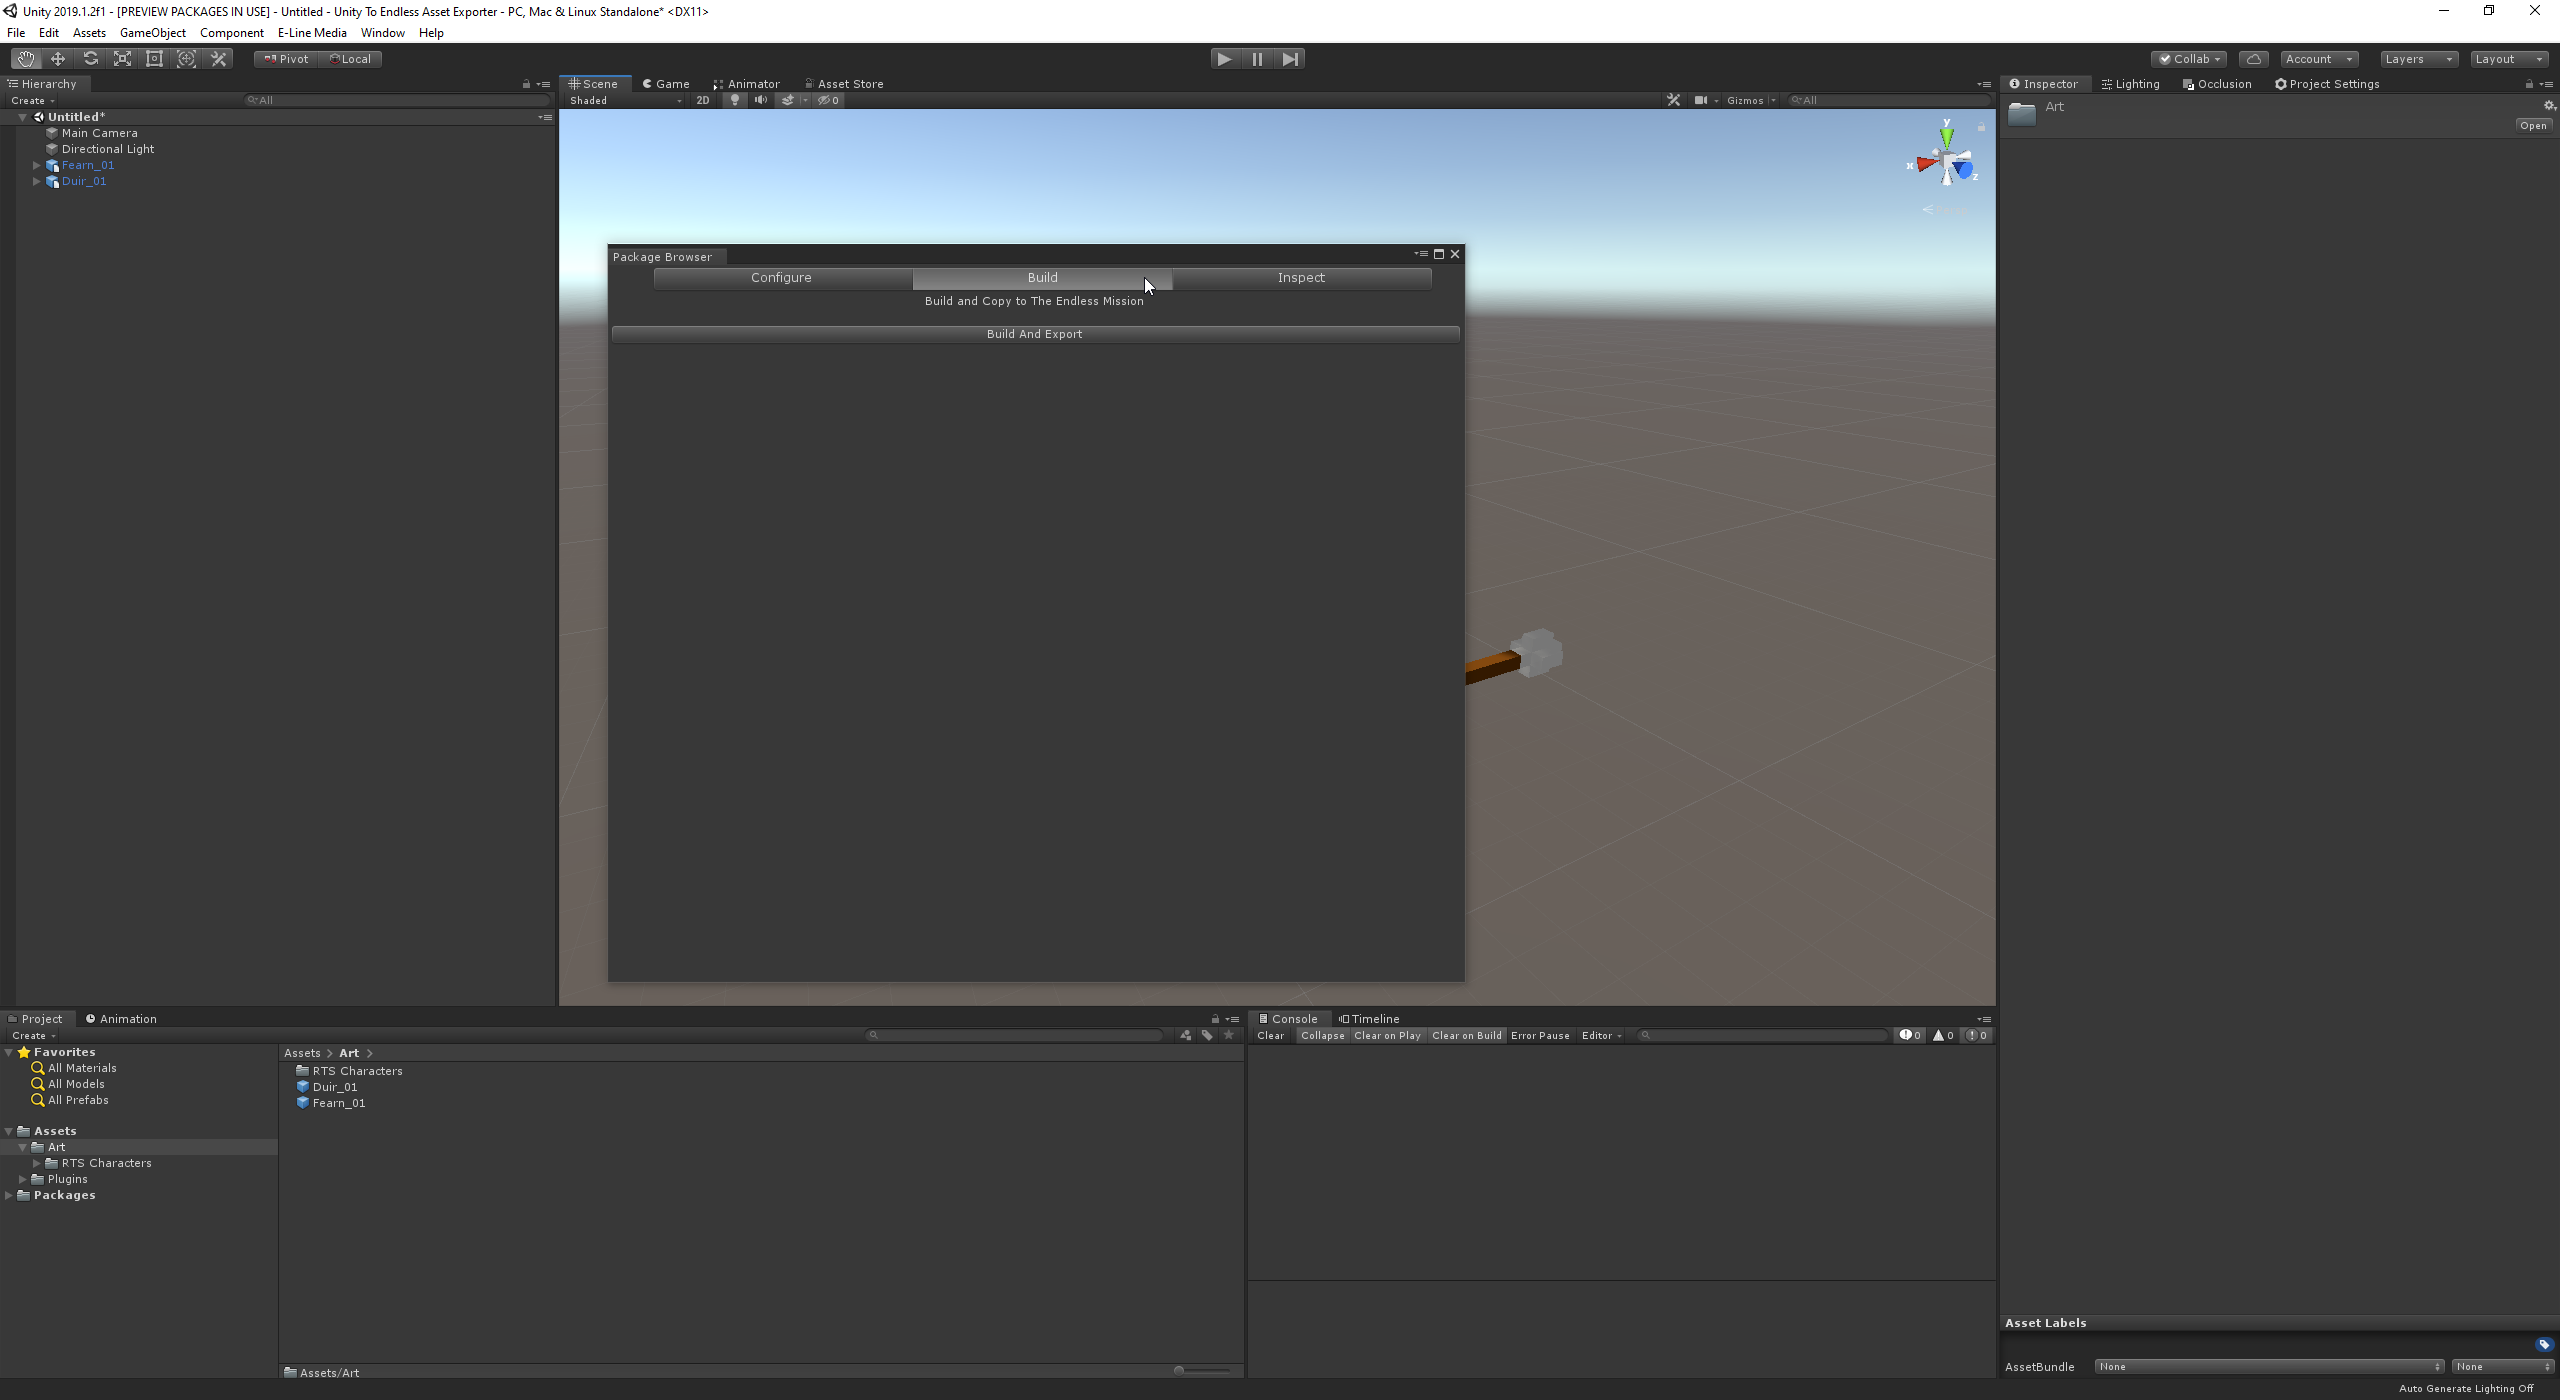
Step 7: Build Your Packages[ | ]
| Click on the Build tap at the top of the Package Browser.
If you remembered to install the MacOS and Linux build tools, you should see a Build and Export button. |
|
||
| Click it!
This will build the packages you've made, and copy them to your local The Endless Mission folder. You should see a loading bar, let this process complete! If everything went well... then you should see this message. |

|
||
Step 8: Use Your new Assets![ | ]
Load The Endless Mission![ | ] |
|||
| Launch The Endless Mission through Steam using the account you registered with. | 
|
||
Open The Endless Mission Editor[ | ] |
|||
| Open the Editor through the starting menu and load a preset, or one of your own scenes. You can also start a blank scene. | 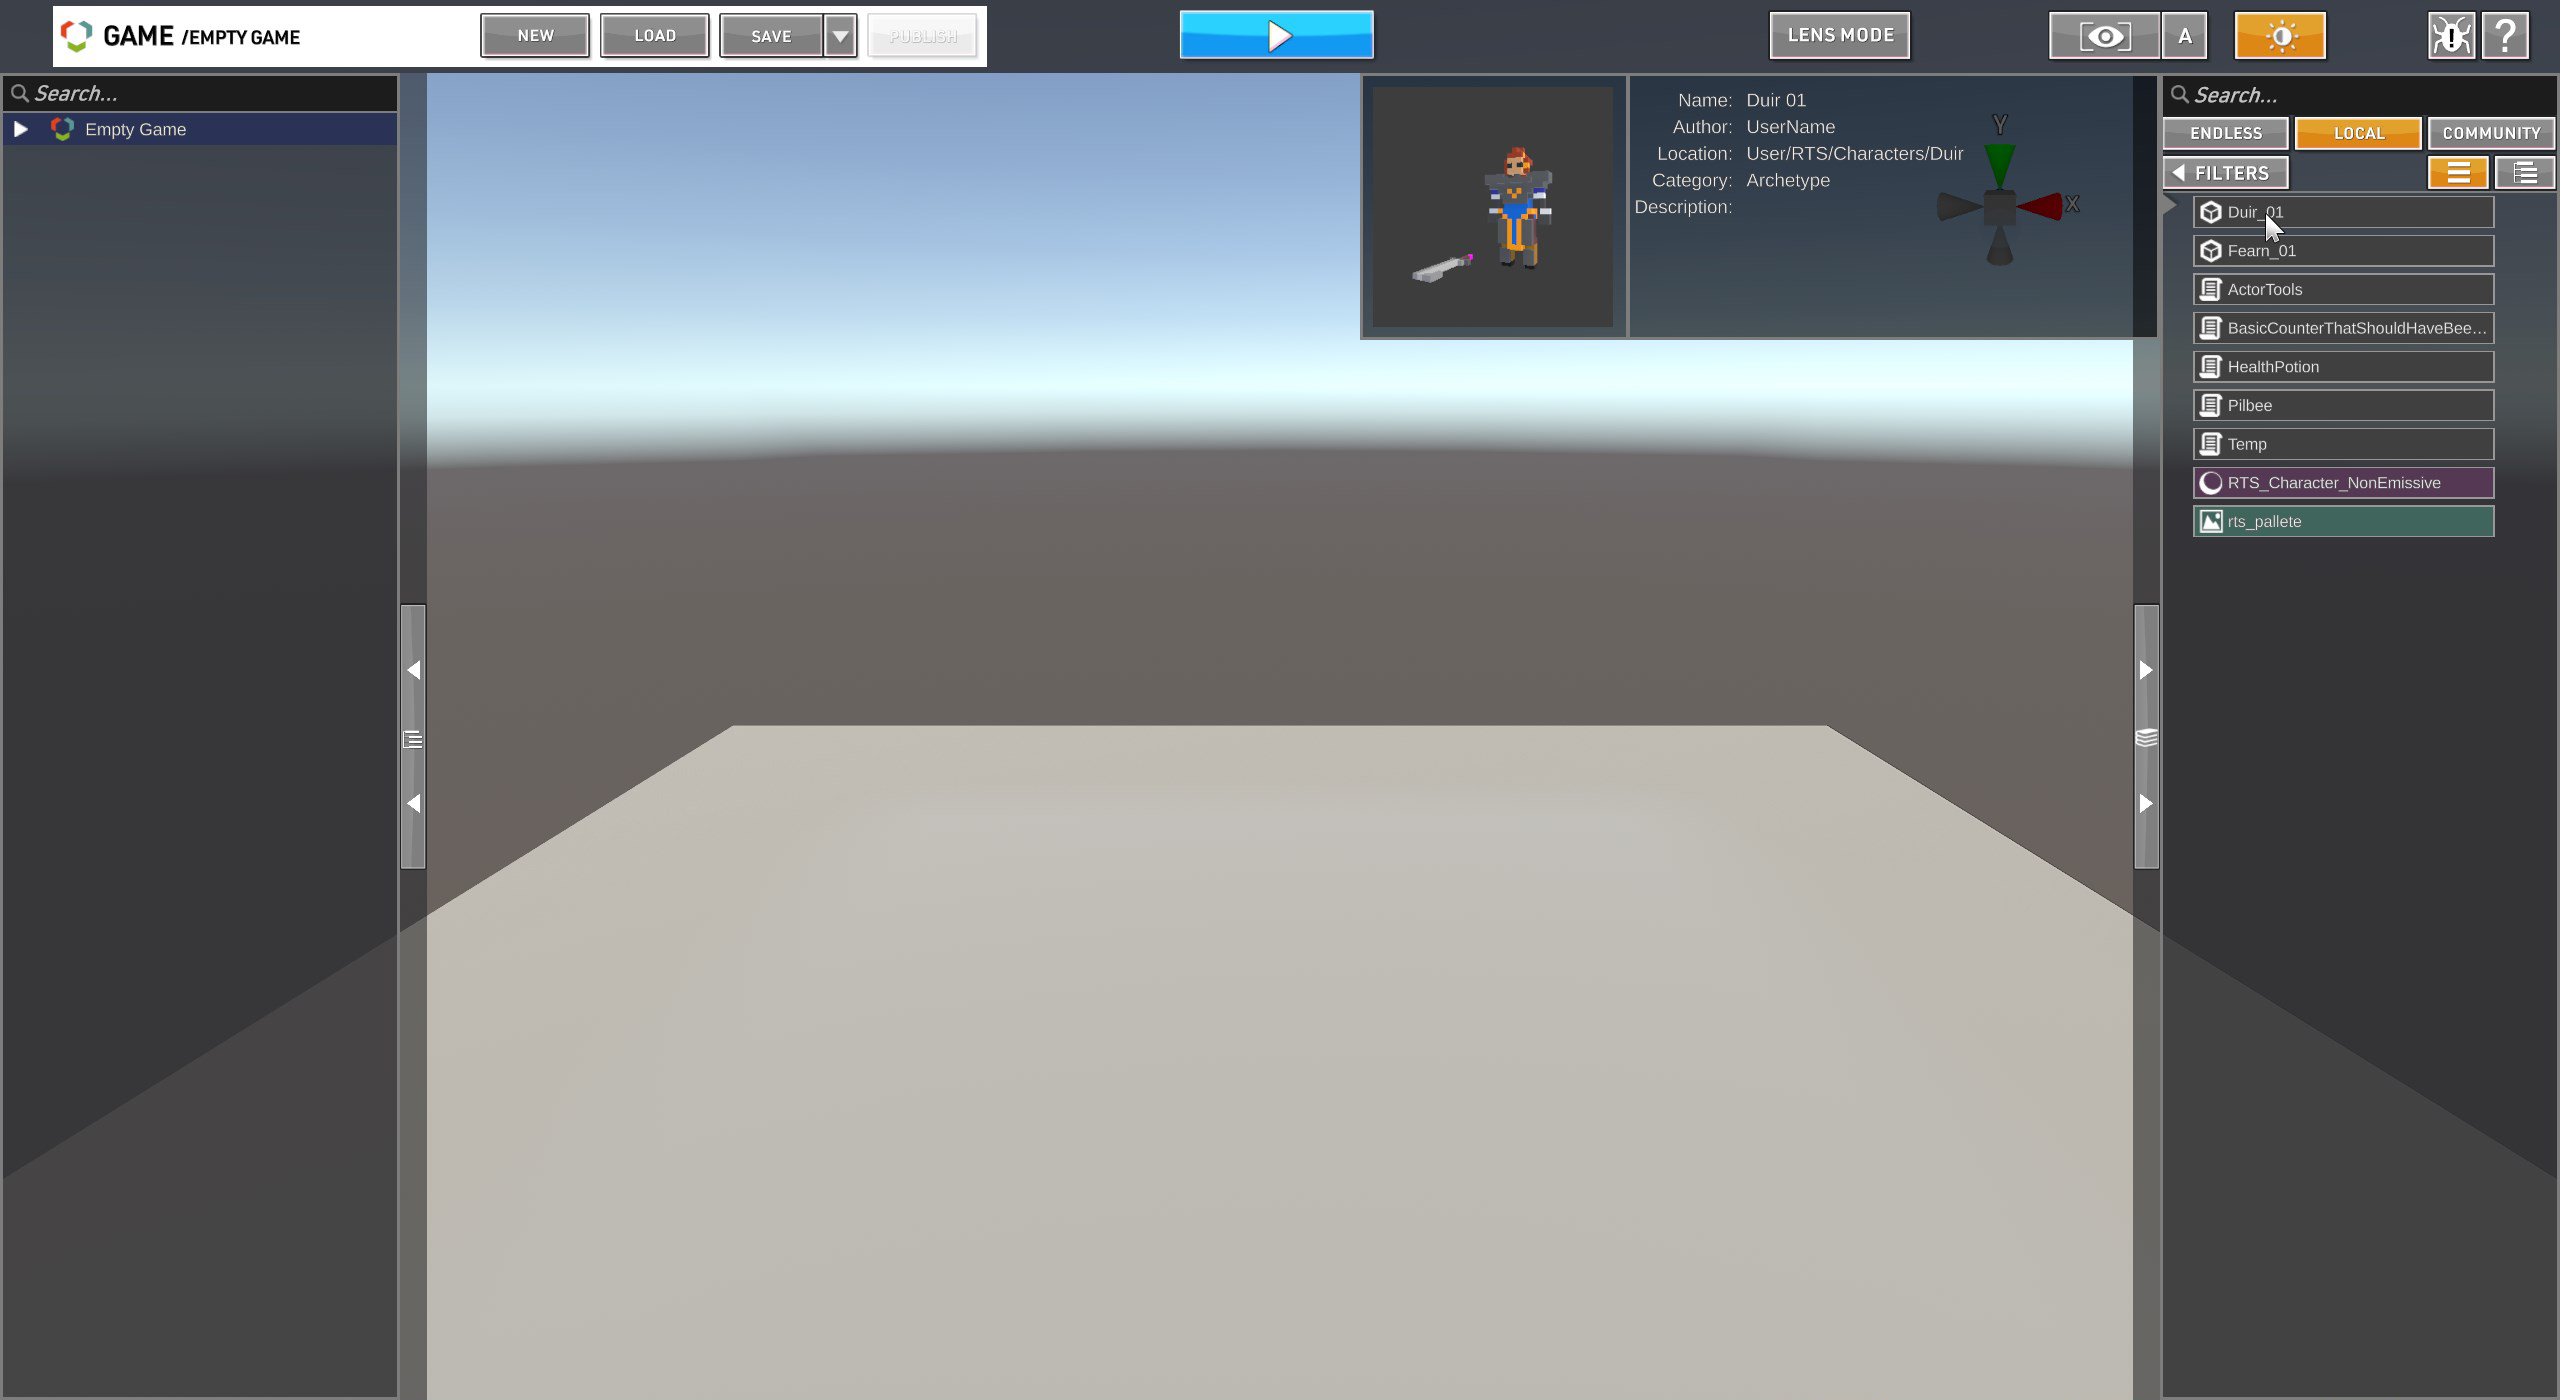
|
||
Check your Local Content[ | ] |
|||
| Once there, you can filter by Local, and see all of your own personal assets you've uploaded, you should find them there in the Library.
Drag them into the scene or the far left panel to add them to your game. |

|
Congratulations, you've just taken a huge step into the world of The Endless Mission.
See you on the Content Portal!
Troubleshooting:[ | ]
Q: Why does the tool keep asking me to log into Steam?
A: If you launch the project before you are logged into steam, you may run into this. To fix it, simply go up to the menu you use to load the tool and manually select "Login".
Q: Why are my materials purple?
A: This could mean that either the material uses a shader you forgot to include, or the materials themselves are missing. Try embedding the materials. Importing into Unity
Q: Why won't my models animate?
A: This can happen if the animator controller that was used doesn't have the correct setup. Or the code doesn't call the correct parameter names. Writing a custom animation script for your character using the parameter names you picked can work around this.
Q: My model has an animator with the correct parameters but won't animate! My models materials and/or textures are missing!
A: The required files are either the same as files currently in your project or, they weren't included in the package. Try duplicating them and renaming them, then re exporting, or make sure they are dragged into the proper references.