1. Using the Library Panel, click on the Filters tab and select "Smart". Find the "Score UI" smart object and drag it into the scene.
2. With the "Score UI" object selected in your Project Hierarchy, view its Components tab. The attached script contains the properties for the Score UI.
3. To change what the label for your Score UI says, enter your text in the field for "Label". By default, the label will say "Score".
4. To change the position of the UI, edit the numerical values in the X and Y fields for "Background Position". The X field controls the horizontal position, while the Y field controls the vertical position. You can play the game to see how the UI will look.
5. To change the size of the UI, edit the numerical values in the X and Y fields for "Background Size". The X field controls the horizontal width, while the Y field controls the vertical height.
6. To adjust the location of the label and score number on the UI, edit the numerical values in the X and Y fields for "Label Offset" and "Number Offset", respectively.
7. To change the way the background of the UI looks, drag an image from the Library into the "Background Sprite" field or click the field for "Background Color". Adjust the color and transparency of the UI using the color picker.
8. To change the color or appearance of the score number, drag an image from the Library into the "Pickup Sprite" field or click the field for "Pickup Color". Adjust the color and transparency of the text using the color picker.
Adding a Score Calculation[ | ]
1. Now we need a way to update the number displayed as the player's score. Click the gear icon on the attached script to look at its code.
2. Save the script under a new name, such as "ScoreCalculator".
3. Under the opening curly brace of the class, declare and initialize an integer variable to represent the player's score. An example of what this could look like is below:
public class ScoreCalculator : PickupUIBase
    {
        int score = 0;
4. Next, we need to create a method to change the score when something happens in the game. Underneath the closing curly brace of the Endless_Start function, type the following code:
[EndlessEventVisible]
        public void CalculateScore()
        {
            score += 10;
            Number = score;
        }
5. This method, when called, will increase the score by 10 and display the score in the UI. You can decide what events cause the player's score to increase.
6. The next section will explain how to increase score when the player collects a coin.
Increasing Score by Collecting Coins[ | ]
1. First, we must allow the CalculateScore method to take an integer value when called. Do this by adding "int value" between the parentheses following the method name, like so:
[EndlessEventVisible]
        public void CalculateScore(int value)
        {
            score += 10;
            Number = score;
        }
2. Now we need coins for the player to collect. Using the Library Panel, click on the Filters tab and select "Smart". Find the "Pickup Coin" smart object and drag one or more into the scene.
3. In the Library, find the "Pickup Coin UI Manager" and drag it into the scene. Select the "Pickup Coin UI Manager" and view its Components tab.
4. On the Components tab, underneath the event called "On Number Changed (Int32)", click the plus sign to create a field called "Target".
5. Drag your "Score UI" object from the Project Hierarchy into the field for "Target".
6. Click the dropdown menu under this field and select your CalculateScore function. Now, every time the number of coins in the scene changes, your CalculateScore method will fire and score will increase.
7. You can play test to ensure that collecting coins causes score to increase. You can also change the amount by which score increases to find a scoring system that feels right for your game.
8. Note that each time you change your ScoreCalculator script, you will need to repeat the process in steps 2-5.
Adding a Score Multiplier[ | ]
1. If you want the score to increase more if certain conditions are met, you can add a multiplier. For this example, we will cause each coin collected to increase the multiplier-- and, therefore, the amount by which score increases.
2. Select the "Score UI" object in your Project Hierarchy and view its Components tab. Click the gear icon on your ScoreCalculator script to view its code.
3. To be able to see the current multiplier, we need another region for text on the Score UI. To do this, we can change the inherited class from PickupUIBase to UIBase. We also need an integer variable to store the value of the multiplier. Edit the top of the class to look as follows:
public class ScoreCalculator : UIBase
    {
        int score = 0;
        int multiplier = 1;
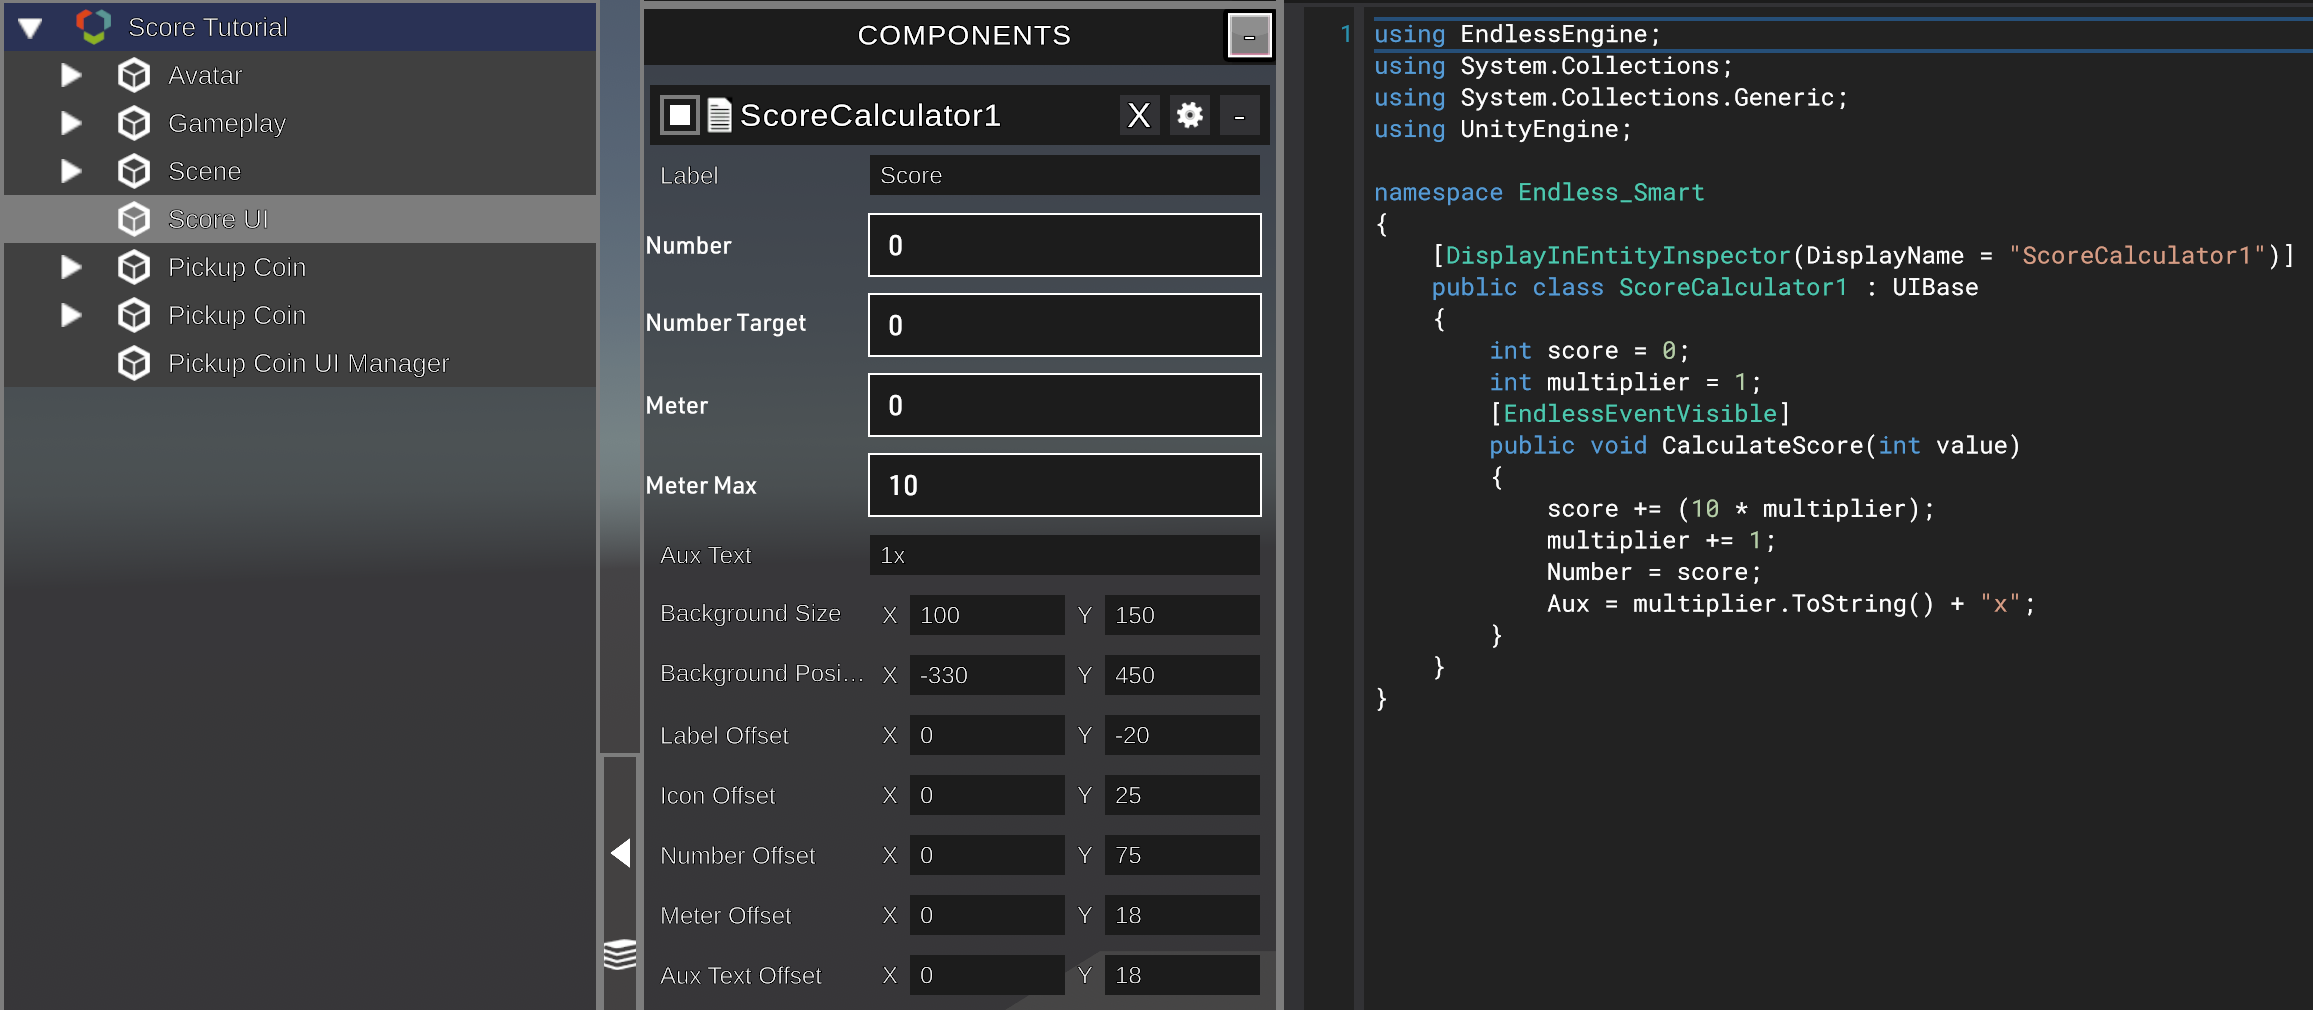
4. Save your script and view the Components tab. It will have updated with a new field called "Aux Text". Enter "1x" into this field.
5. In the ScoreCalculator script, we need to update the CalculateScore method to calculate score based on the multiplier. We also need to increase the multiplier every time the player collects a coin. To do this, change your CalculateScore method to the following:
[EndlessEventVisible]
        public void CalculateScore(int value)
        {
            score += (10 * multiplier);
            multiplier += 1;
            Number = score;
            Aux = multiplier.ToString() + "x";
        }
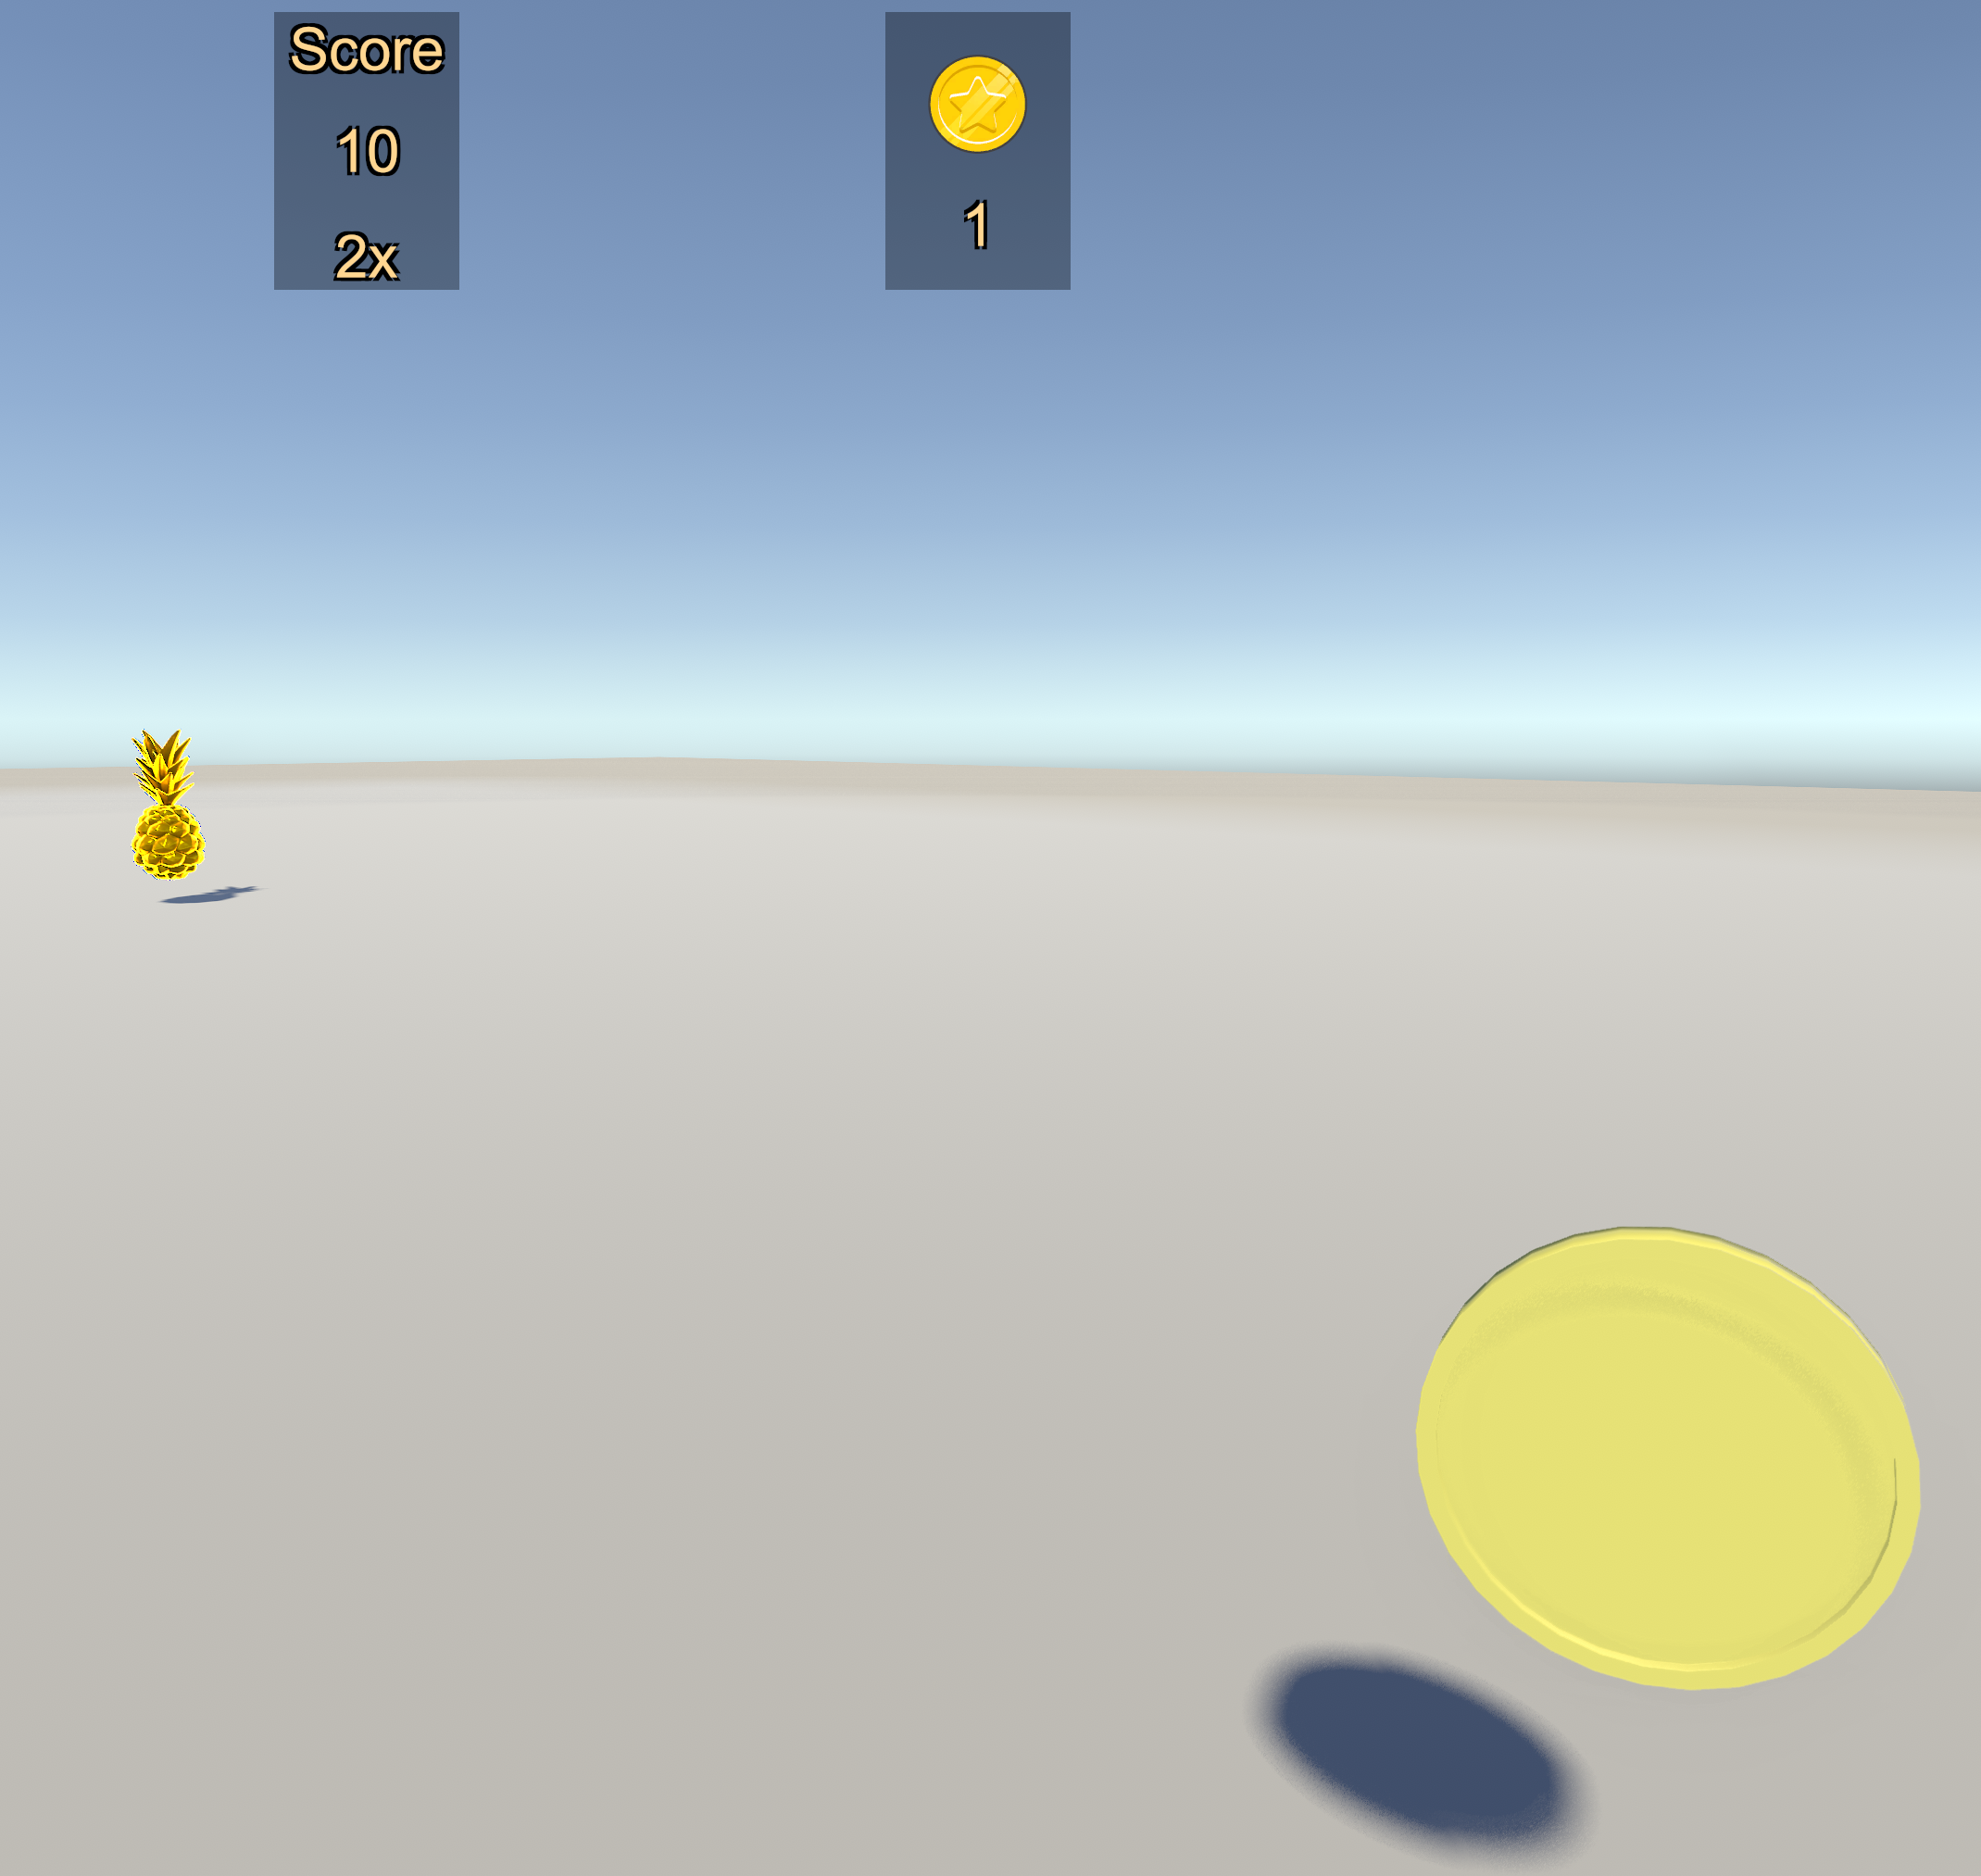
6. Now, every time the player collects a coin, their score will increase by 10 multiplied by the multiplier, which will increase for every coin they get. The auxiliary text in Score UI will display the current multiplier underneath the score.
7. You can play test to ensure that score is calculating properly. You can also change the values for score and multiplier, or experiment with ways to change when the multiplier applies.